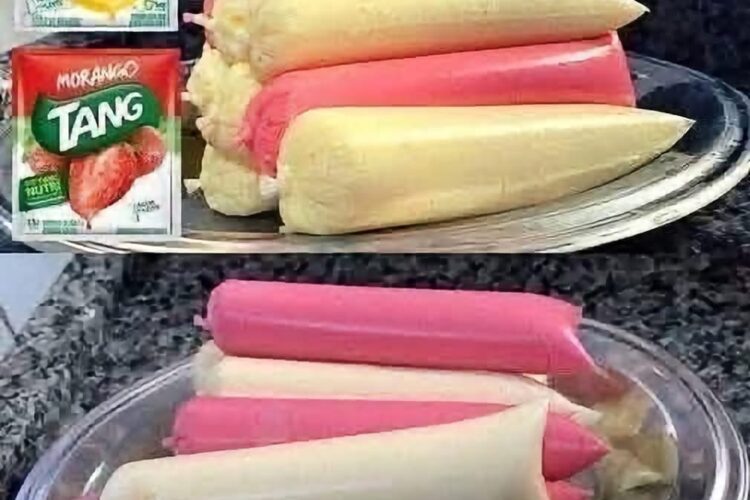
There’s something truly special about homemade ice cream. It’s rich, creamy, incredibly satisfying, and surprisingly simple to make. While many people assume making ice cream requires fancy equipment or complicated techniques, this recipe proves otherwise. With just four simple ingredients and a few minutes of preparation, you can create a smooth, velvety frozen dessert that tastes every bit as luxurious as premium store-bought ice cream.
Whether you’re craving a classic vanilla treat or want to experiment with fun mix-ins like chocolate chips, cookie crumbles, fresh berries, or caramel swirls, this easy no-churn ice cream recipe is the perfect starting point. It requires no ice cream maker, no cooking, and no special skills—just a mixing bowl, a whisk or electric mixer, and a little patience while it freezes.
The beauty of this recipe lies in its versatility. Once you master the creamy vanilla base, you can customize it endlessly to create your own signature flavors. From birthday parties and summer barbecues to cozy movie nights at home, this homemade ice cream is guaranteed to impress family and friends alike.
If you’ve never made ice cream from scratch before, you’re in for a pleasant surprise. Let’s get started with one of the easiest desserts you’ll ever make.
Why You’ll Love This Homemade Ice Cream
There are countless reasons to skip the grocery store freezer aisle and make your own ice cream instead.
- Only 4 simple ingredients.
- No ice cream maker required.
- Rich, creamy, and perfectly scoopable.
- Easy enough for beginners.
- Ready with just a few minutes of prep.
- Endless flavor possibilities.
- Perfect for birthdays, holidays, or everyday desserts.
- Free from unnecessary preservatives and artificial ingredients.
Once you try this recipe, you’ll find yourself making it again and again with different flavor combinations.
Ingredients
This recipe makes approximately 8 servings.
2 cups Heavy Cream
Heavy whipping cream is the secret to the luxurious texture. When whipped, it creates tiny air pockets that give the finished ice cream its light yet creamy consistency.
1 (14-ounce) Can Sweetened Condensed Milk
Sweetened condensed milk provides sweetness while also helping prevent large ice crystals from forming. This creates a smoother texture without needing an ice cream machine.
1–2 teaspoons Vanilla Extract
Pure vanilla extract adds warm, classic flavor that pairs beautifully with almost any mix-in.
Optional Flavor Add-Ins
Customize your ice cream with any of these favorites:
- Chocolate chips
- Mini chocolate chunks
- Crushed chocolate sandwich cookies
- Brownie pieces
- Fresh strawberries
- Blueberries
- Raspberries
- Chopped peaches
- Caramel sauce
- Fudge swirl
- Peanut butter swirl
- Toasted pecans
- Almonds
- Pistachios
- Coconut flakes
- Rainbow sprinkles
Feel free to combine several mix-ins to create your own unique flavor.
Kitchen Tools You’ll Need
One of the best things about this recipe is how little equipment it requires.
- Large mixing bowl
- Electric hand mixer or stand mixer
- Rubber spatula
- Measuring cups
- Airtight freezer-safe container
- Ice cream scoop
How to Make Homemade Ice Cream
Step 1: Whip the Heavy Cream
Pour the cold heavy cream into a large mixing bowl.
Using an electric mixer, beat the cream on medium-high speed until stiff peaks form. This usually takes about 3–5 minutes depending on your mixer.
You’ll know it’s ready when the cream stands upright on the beaters without collapsing.
Avoid overmixing, as whipped cream can become grainy if beaten too long.
Step 2: Fold in the Sweetened Condensed Milk
Pour the sweetened condensed milk into the whipped cream.
Using a rubber spatula, gently fold the mixture together using slow, sweeping motions.
The goal is to keep as much air as possible inside the whipped cream, which helps create a fluffy, creamy texture after freezing.
Mix only until fully combined.
Step 3: Add the Vanilla Extract
Stir in the vanilla extract.
One teaspoon creates a subtle vanilla flavor, while two teaspoons provide a richer, more aromatic taste.
This simple ingredient transforms the entire dessert and enhances every bite.
Step 4: Fold in Your Favorite Mix-Ins
Now comes the fun part.
Choose your favorite ingredients and gently fold them into the ice cream base.
Some delicious combinations include:
- Cookies and cream
- Chocolate chip
- Strawberry cheesecake
- Salted caramel
- Peanut butter chocolate
- Mint chocolate chip
- Birthday cake with sprinkles
- Chocolate brownie
Avoid adding watery fruits without draining them first, as excess moisture may create icy crystals.
Step 5: Freeze
Transfer the mixture into an airtight freezer-safe container.
Smooth the top with a spatula.
Cover tightly with a lid or plastic wrap pressed directly against the surface to minimize ice crystals.
Freeze for at least 4 to 6 hours.
For the firmest texture, freezing overnight is ideal.
Step 6: Scoop and Serve
Remove the ice cream from the freezer about 5–10 minutes before serving.
This short resting time allows it to soften slightly for easier scooping.
Serve in bowls, waffle cones, sugar cones, or alongside your favorite desserts.
Top with:
- Whipped cream
- Chocolate syrup
- Caramel sauce
- Fresh berries
- Crushed cookies
- Chopped nuts
- Sprinkles
- Maraschino cherries
Enjoy every creamy bite.
Tips for Perfect Homemade Ice Cream
A few simple tricks can make a huge difference in both texture and flavor.
Keep Everything Cold
Cold ingredients whip faster and produce a fluffier base.
For even better results, chill your mixing bowl before whipping the cream.
Don’t Overmix
Once the whipped cream and condensed milk are combined, fold gently.
Overmixing removes air and creates a denser ice cream.
Freeze in a Shallow Container
A shallow container freezes more evenly than a deep one.
This also makes scooping easier.
Cover Well
Keeping air away from the surface prevents freezer burn and unwanted ice crystals.
Let It Rest Before Scooping
Allow the container to sit at room temperature for a few minutes before serving for perfectly smooth scoops.
Delicious Flavor Ideas
Once you’ve mastered the basic vanilla recipe, the possibilities become endless.
Chocolate Lovers
Mix in mini chocolate chips, chocolate chunks, cocoa powder, or chocolate syrup.
Cookies and Cream
Fold in crushed chocolate sandwich cookies for a classic favorite.
Strawberry Swirl
Add chopped strawberries and strawberry jam for a fruity twist.
Salted Caramel
Swirl caramel sauce throughout the mixture and sprinkle with flaky sea salt.
Peanut Butter Cup
Add peanut butter ribbons and chopped peanut butter cups.
Coffee
Mix in instant espresso powder dissolved in a teaspoon of warm water.
Mint Chocolate Chip
Add peppermint extract and mini chocolate chips.
Birthday Cake
Fold in colorful sprinkles and small cubes of vanilla cake.
Why Make Ice Cream at Home?
Homemade ice cream offers benefits beyond incredible flavor.
You Control the Ingredients
Skip artificial preservatives, unnecessary stabilizers, and excess additives commonly found in commercial brands.
Endless Customization
Create flavors that aren’t available in stores and adjust sweetness to your preference.
Budget-Friendly
Making premium-quality ice cream at home often costs much less than buying gourmet brands.
Freshness
Every batch is made fresh using ingredients you choose yourself.
Fun Family Activity
Kids love helping whip the cream and choose mix-ins, making this recipe perfect for family cooking sessions.
Storage Tips
Store your homemade ice cream in an airtight container in the freezer.
For the best flavor and texture, enjoy it within two weeks.
To reduce ice crystal formation, place a sheet of plastic wrap directly on the surface before sealing the container.
Frequently Asked Questions
Can I make this without an electric mixer?
Yes. A whisk works, although it takes considerably longer to whip the cream to stiff peaks.
Can I use low-fat cream?
Heavy cream works best because its high fat content creates the rich, creamy consistency this recipe is known for.
Why is my ice cream icy?
This usually happens if the mixture wasn’t folded gently, the container wasn’t sealed tightly, or watery ingredients were added.
Can I make chocolate ice cream?
Absolutely. Mix in a few tablespoons of unsweetened cocoa powder before folding everything together, then add chocolate chips for extra richness.
How long does homemade ice cream last?
For the freshest flavor, enjoy it within two weeks, although it can safely remain frozen longer if stored properly.
Final Thoughts
This easy 4-ingredient homemade ice cream recipe proves that you don’t need an expensive machine or complicated techniques to create an unforgettable frozen dessert. With a rich whipped cream base, sweetened condensed milk for silky smoothness, and endless opportunities for customization, it’s a recipe you’ll come back to all year long.
Whether you keep it classic with vanilla or load it with cookies, chocolate, fruit, caramel, or nuts, every batch is creamy, delicious, and made exactly the way you like it. Once you experience how simple homemade ice cream can be, you’ll wonder why you ever relied on store-bought versions. So gather your ingredients, whip up a batch, and enjoy the satisfaction of creating a frozen treat that’s every bit as indulgent as it is easy.